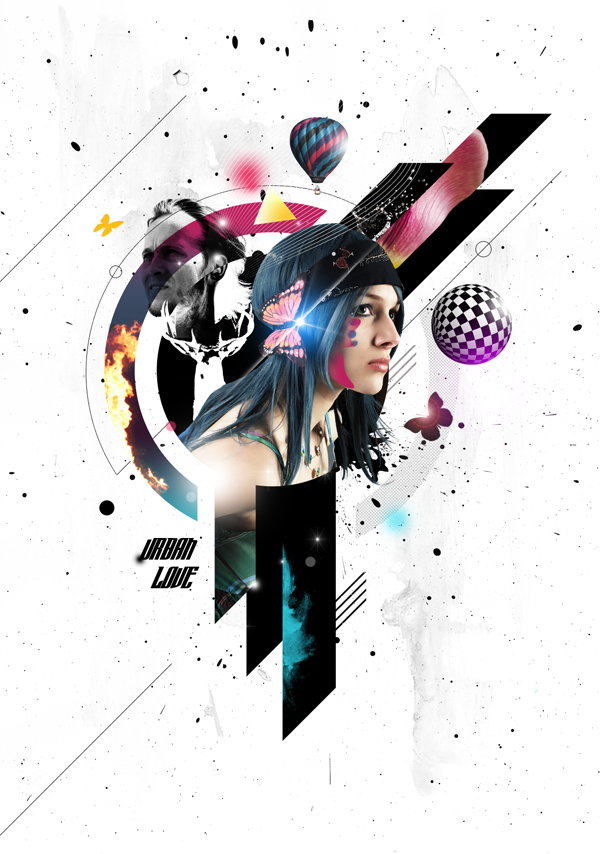
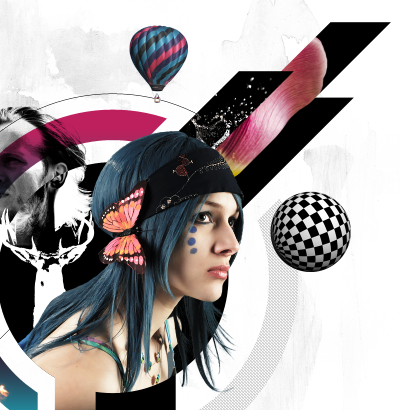
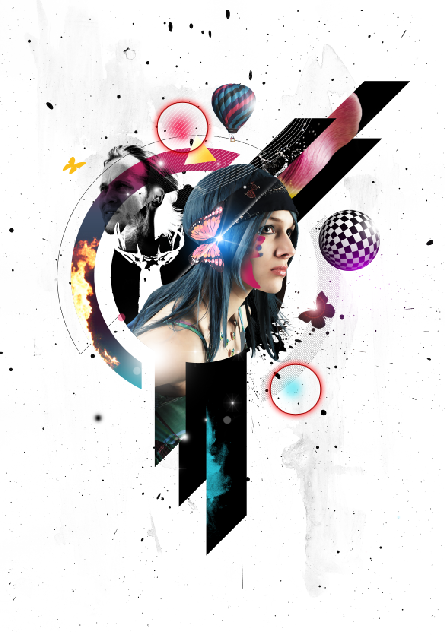
Learn how to create this creative mixed-media composition in Photoshop! You will learn how to combine different graphic elements with extensive use of layer masks. This is a great tutorial for designers who want to experiment with a more modern approach to digital collages.
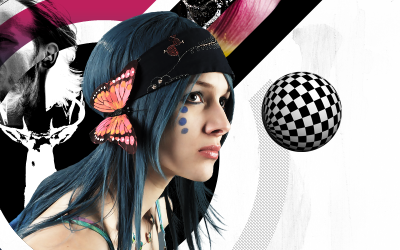
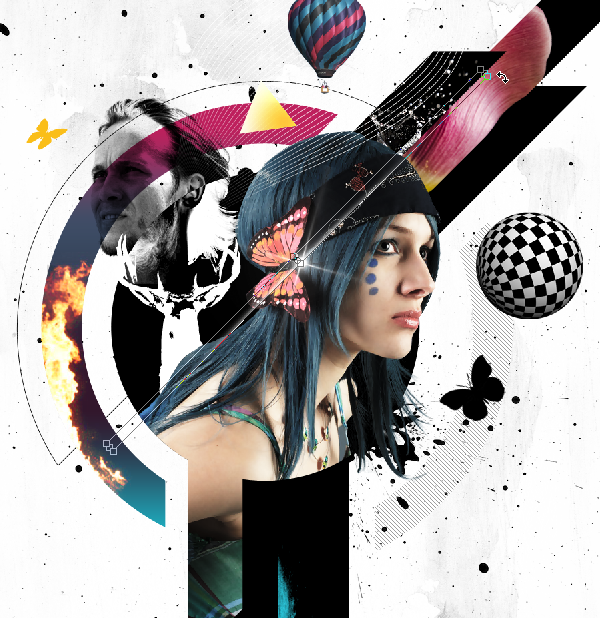
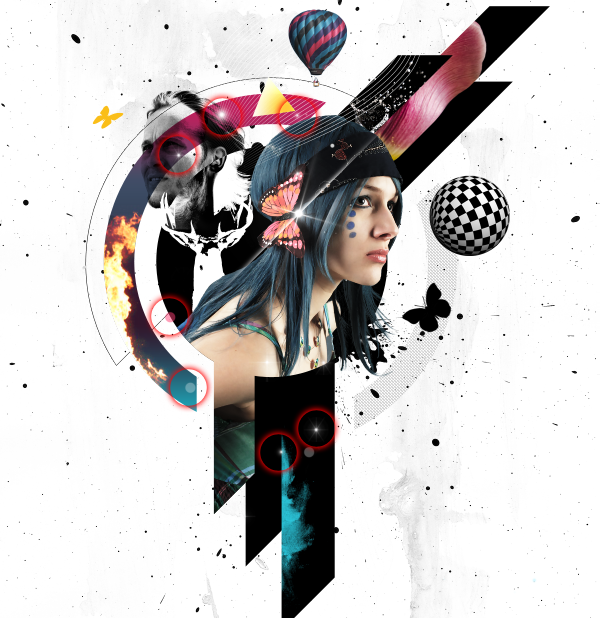
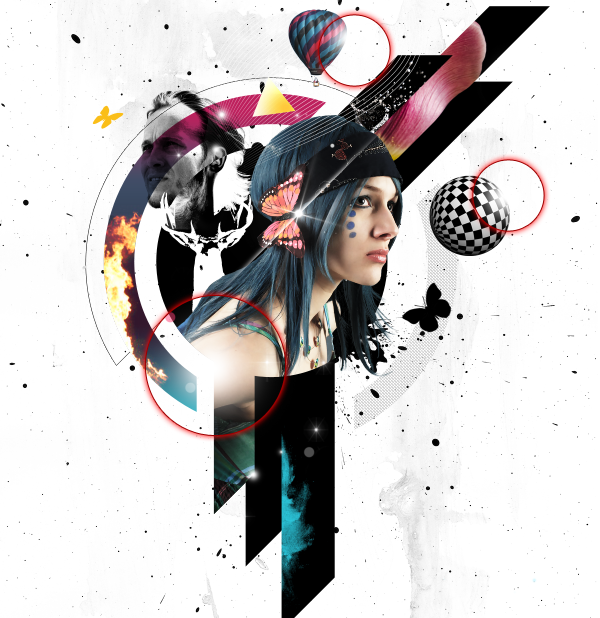
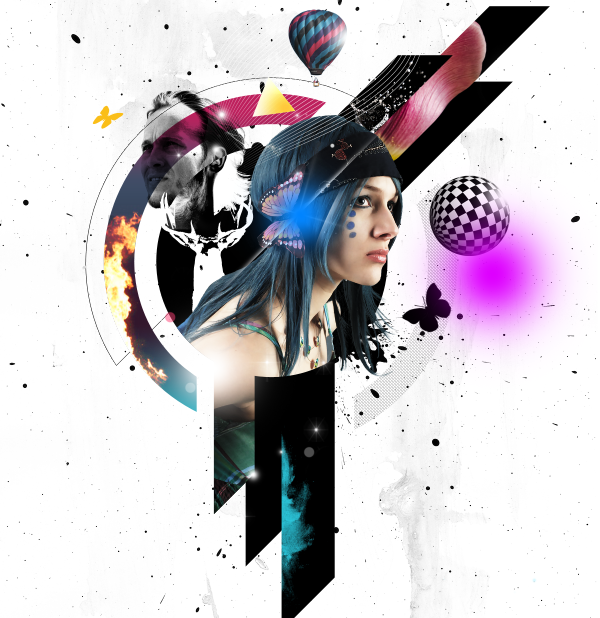
Preview of Final Results
Create a Mixed Media Style Design In Photoshop
Resources
- Water Splash SXC
- Male Head – SXC
- Paint Splatter – SXC
- Tulip Petals – SXC
- Star Brushes – Qbrushes
- Grunge Brushes – Qbrushes
- Patterned Spheres – Media Militia
- Hot air Balloons – Media Militia
- Stag – Mediamilitia
- Paint texture – Mediamilitia
- Model – Deviantart
- Flames – Deviantart
Step 1
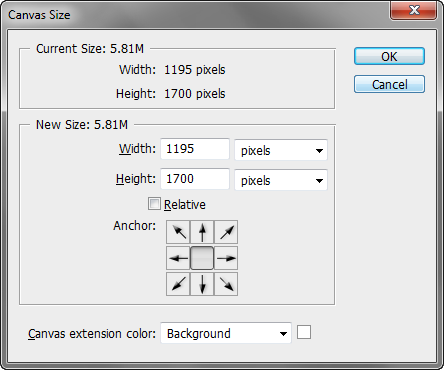
Let’s create a blank document similar to these dimensions.
Step 2
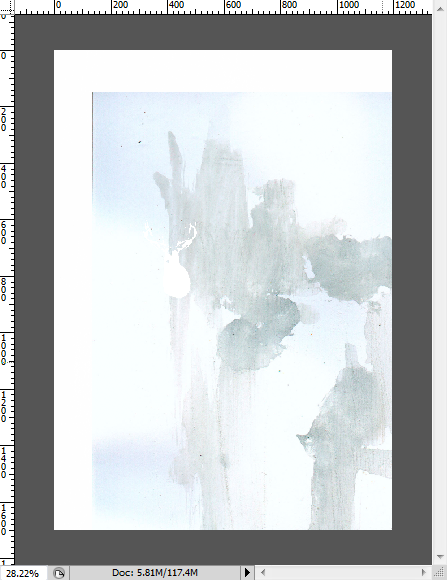
A subtly textured background works well than a plain one. Locate the paint texture and bring it into Photoshop. Drag and drop it into the composition.
Step 3
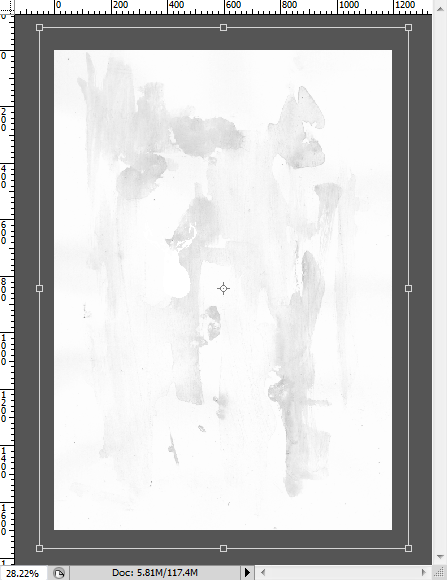
Desaturate the texture (Ctrl+Shift+U). You may need to resize the texture to fit the document.
Step 4
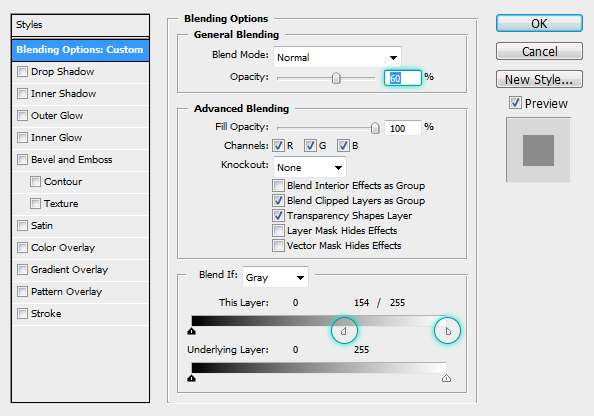
Adjust the layer Opacity and blending to make it subtle. Double click on the layer thumbnail to load Blending Options dialog box.
Step 5
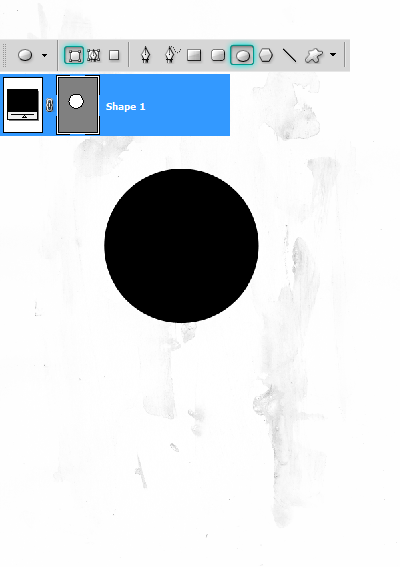
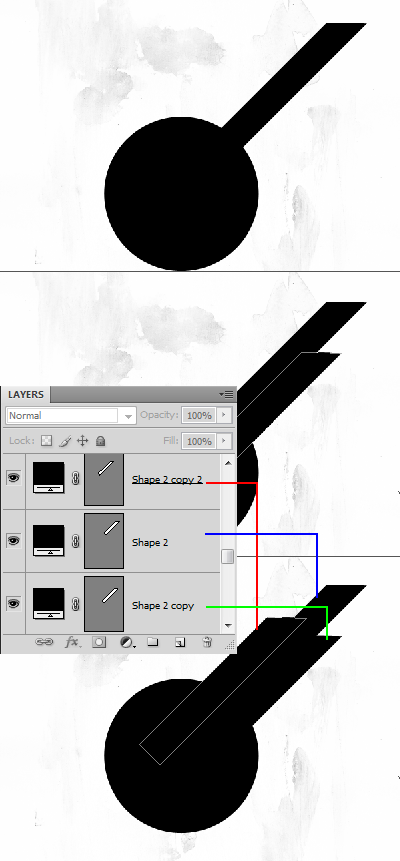
We now need to create several shapes that will define the overall design and contain other graphic elements. Set the color to #000000. Let’s Start off from the middle by drawing a circle with the Ellipse Tool. Choose the Shape layers option on the Options panel. Working with shape layers is very productive and time saving. They are resolution independent and can transform them without losing any quality.
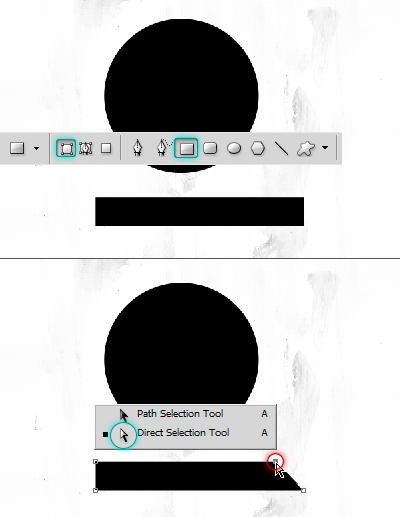
Draw this shape using the Rectangle Tool. Edit the corner with the Direct Selection Tool.
Step 6
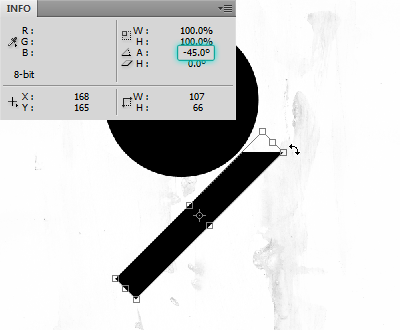
Press Ctrl+T, rotate the shape by -45 degrees. Use the Info palette see to see the properties.
Step 7
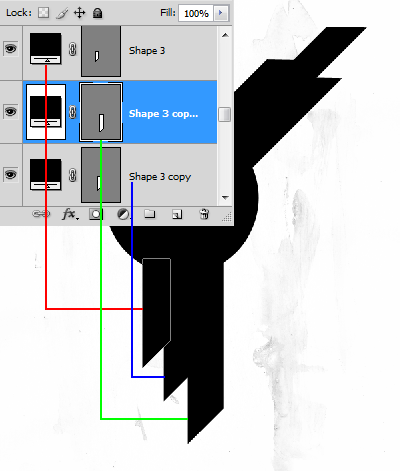
Reposition the shape. Duplicate the layer a couple of times. Stack the layers in this manner.
Now construct the bottom side.
Step 8
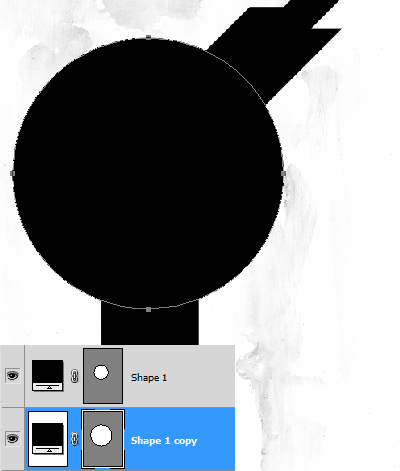
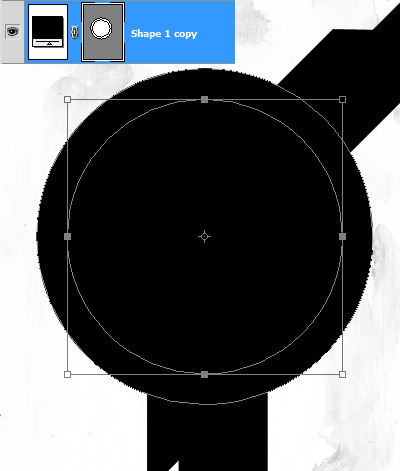
Create another circle outside the main circle. Duplicate the circle ( Ctrl+J ). Scale it approximately by 145%. Hold Alt+Shift while scaling to maintain the center point.
Step 10
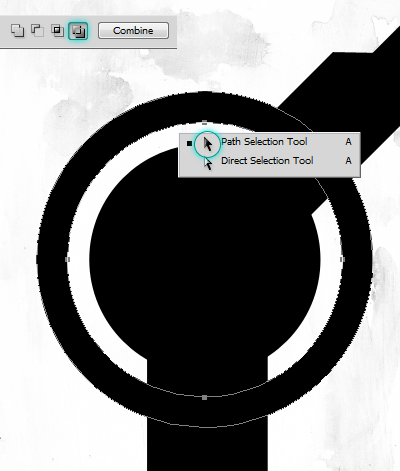
We need to punch a hole in the circle. Click on the Vector Mask thumbnail. Copy the path by pressing Ctrl+C and hit Ctrl+V to paste. Press Ctrl+T and scale it down to 80%.
Select the inner circle, on the Options Panel click on “Exclude overlapping shape areas” button to punch hole in the circle.
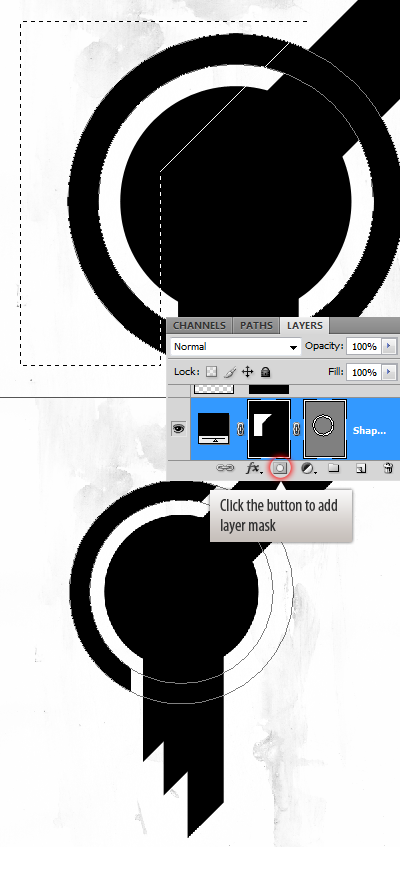
Step 11
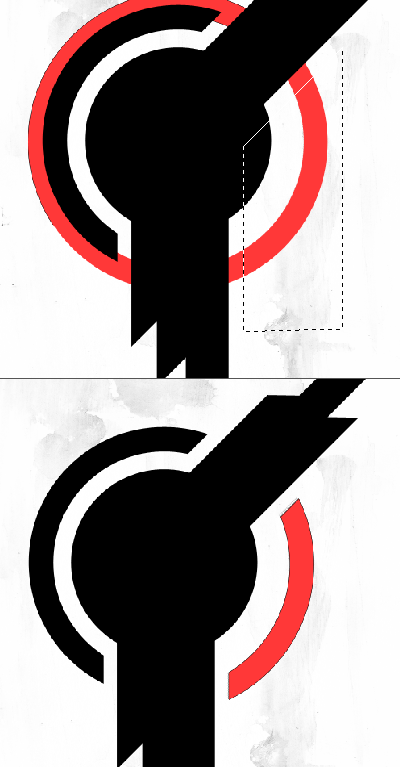
We don’t need the whole circle but a portion of it. Hide the rest with a layer mask.
Step 12
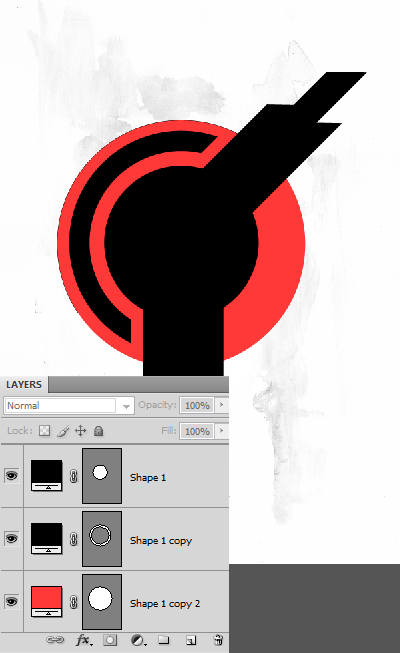
Create another circle bigger than the outer one. Just as before, duplicate the middle circle, place it below the rest.
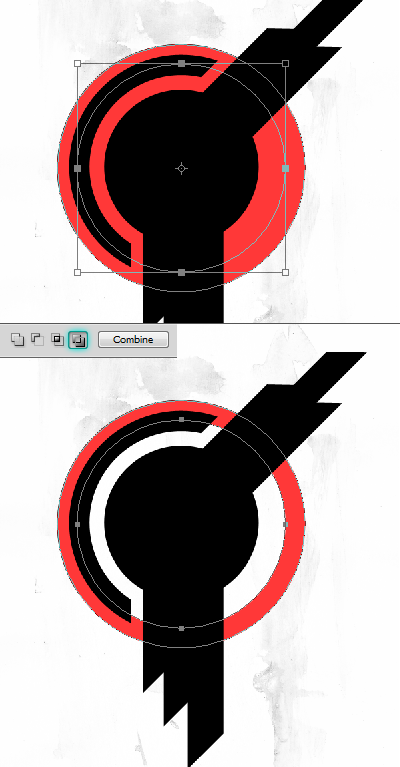
Cut hole in the circle.
Step 13
I want to use this part of the circle, hide rest of it.
Step 14
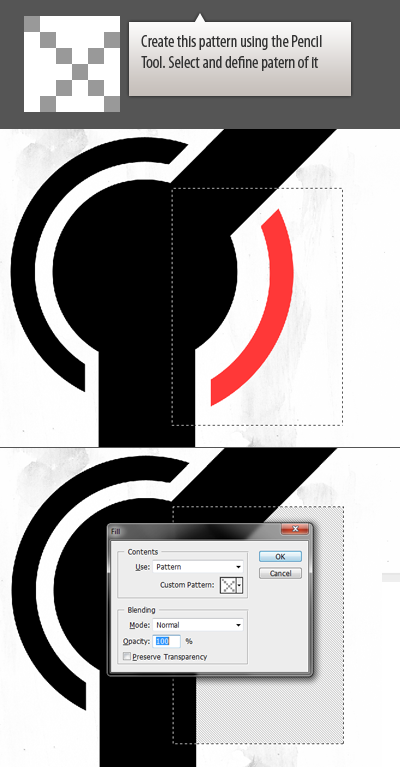
Create a new layer above the cut circle. Use the Pencil Tool with 1px diameter to create the pattern. Select it with the Marquee Tool. Choose Edit > Define Pattern.
Step 15
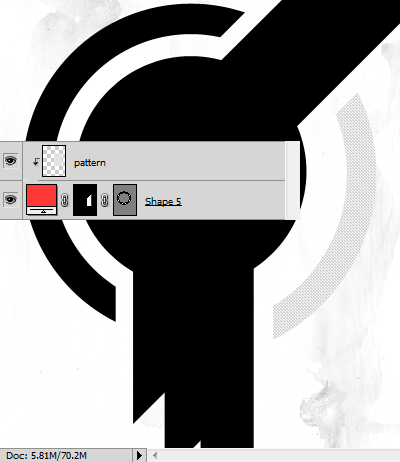
Clip the pattern layer to the circle layer. The shortcut is Ctrl+Alt+G.
Step 16
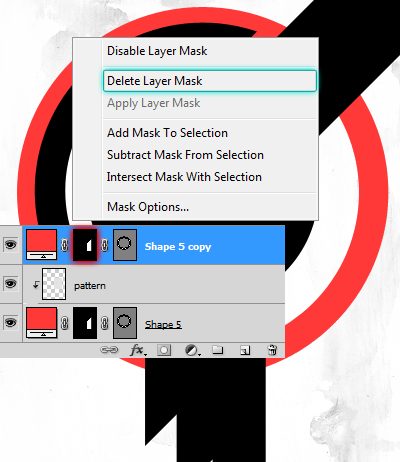
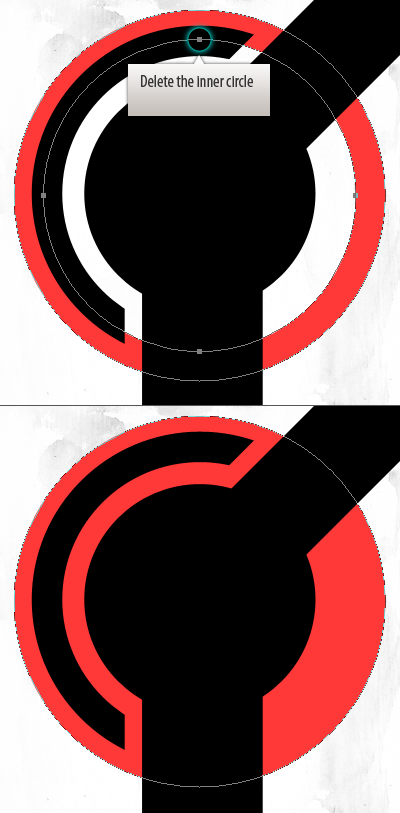
Duplicate the circle and delete the Layer Mask. Delete the inner circle.
Step 17
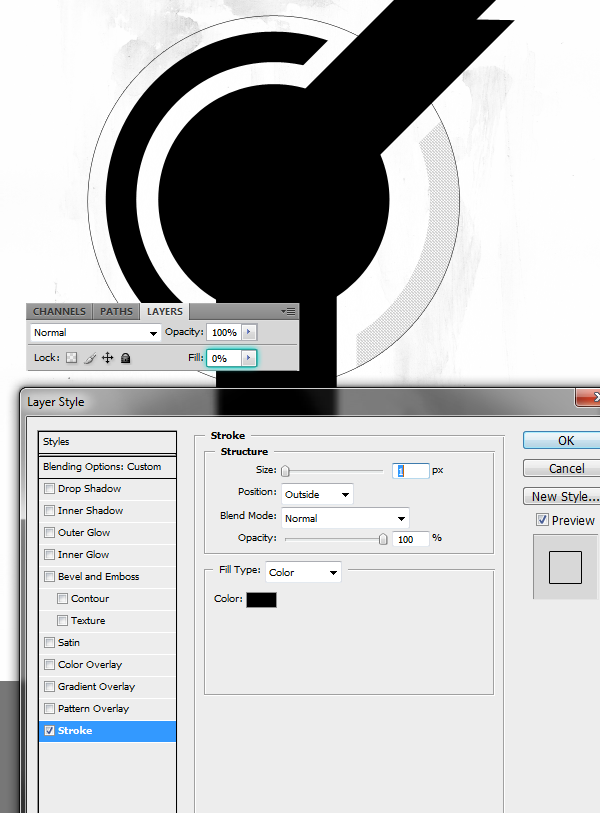
Reduce the fill opacity to zero. Then Apply stroke.
Step 19
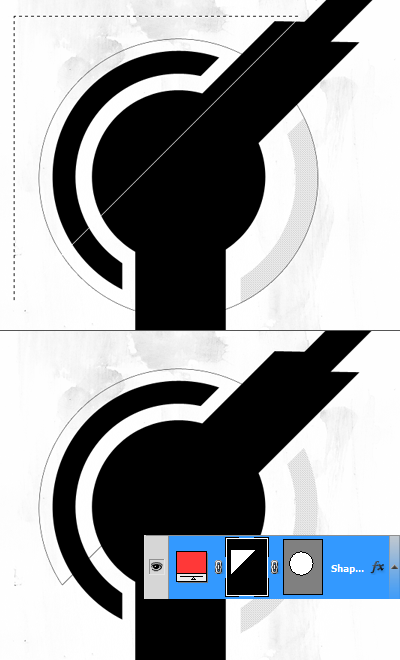
Hide part of the circle with a layer mask.
Step 20
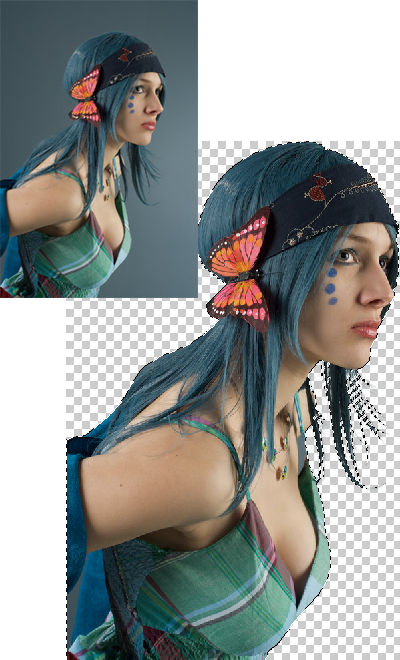
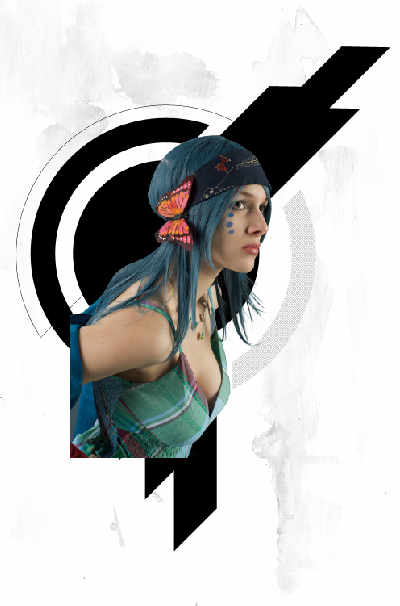
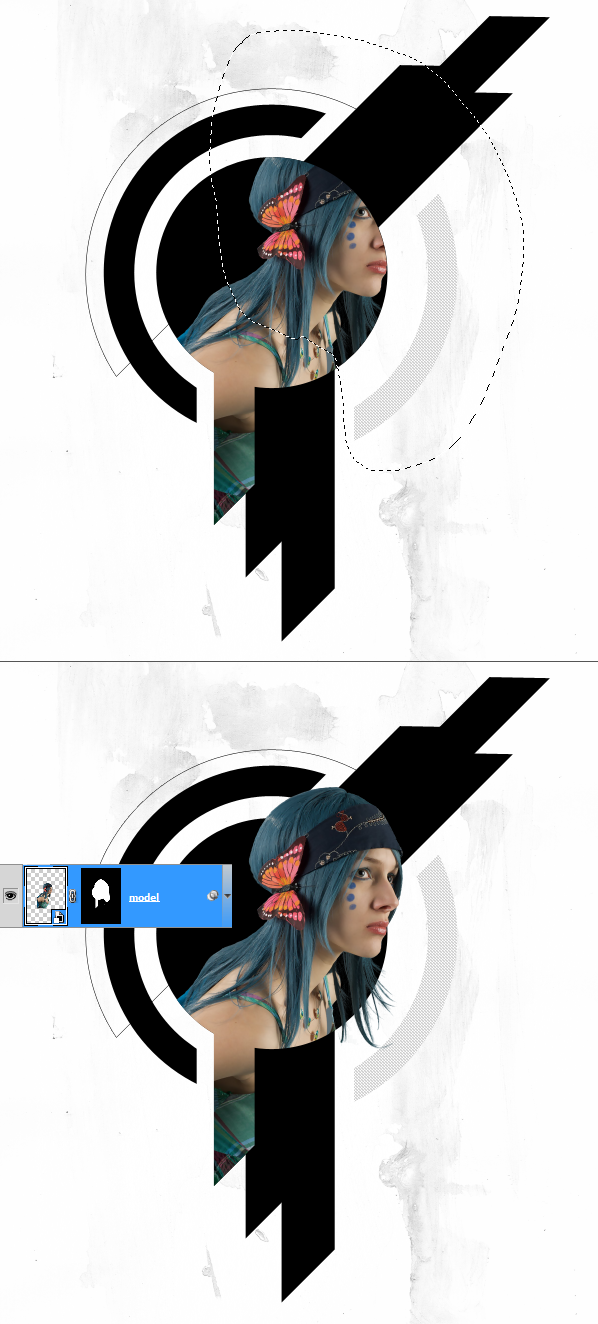
Open up the model stock image in Photoshop. Isolate the subject from the background. Use the Pen Tool to select the subject, pay some attention while selecting the hair.
Step 21
Copy and paste the model into the main document. Convert the layer to Smart Object ( Layer > Smart Objects > Convert to Smart Object ). Resize the model.
Step 22
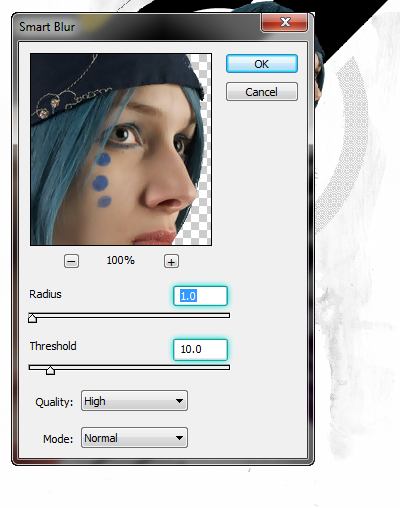
Apply Unsharp Mask ( Filter > Blur > Smart Blur ).
Step 23
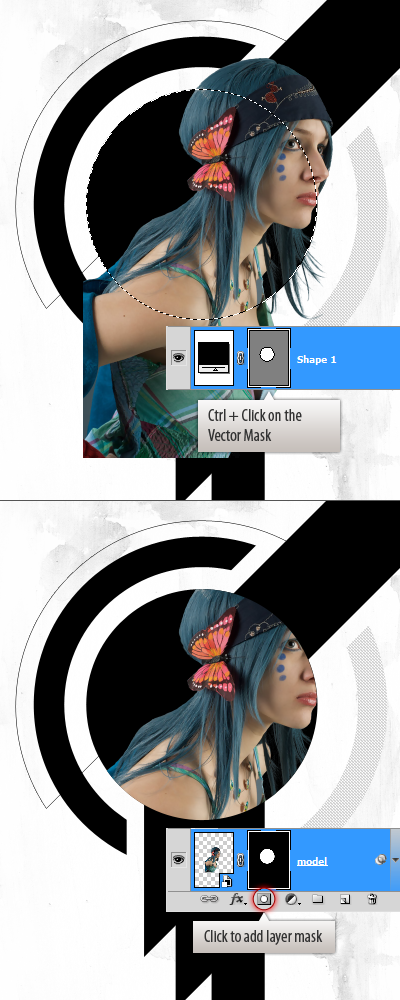
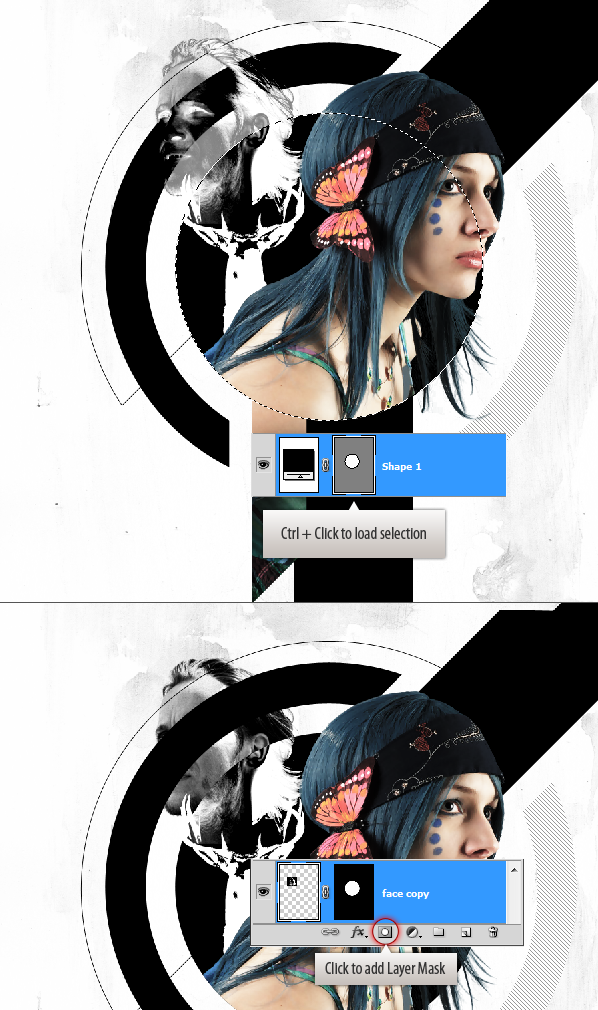
Ctrl+click on the circle vector mask to load selection. Click on the Add layer mask button to add mask.
Step 24
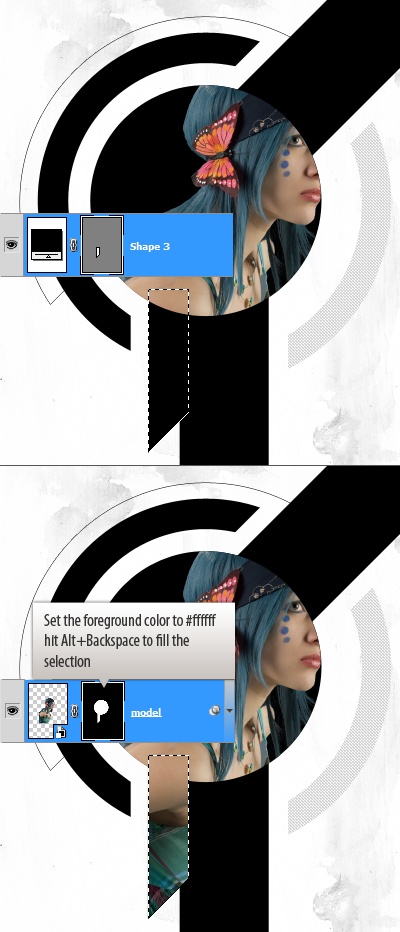
Reveal some more portion of the model.
Step 25
Reveal rest of the image.
Step 26
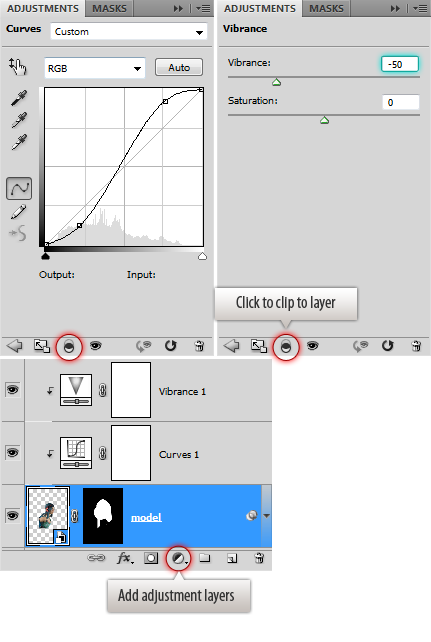
Color correct the image using Curves and Vibrance adjustment layers.
Step 27
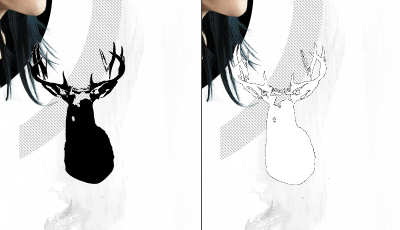
Load the stag ( img035 ) into Photoshop. You need to change the image mode to RGB from Index. Choose Image > Mode > RGB. Then drag it into the design. Invert the image ( Ctrl+I )
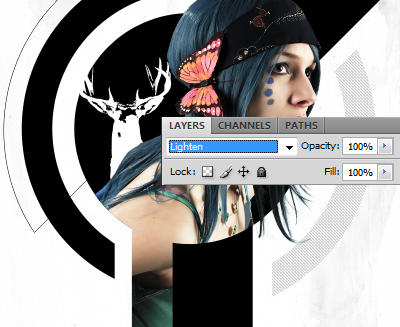
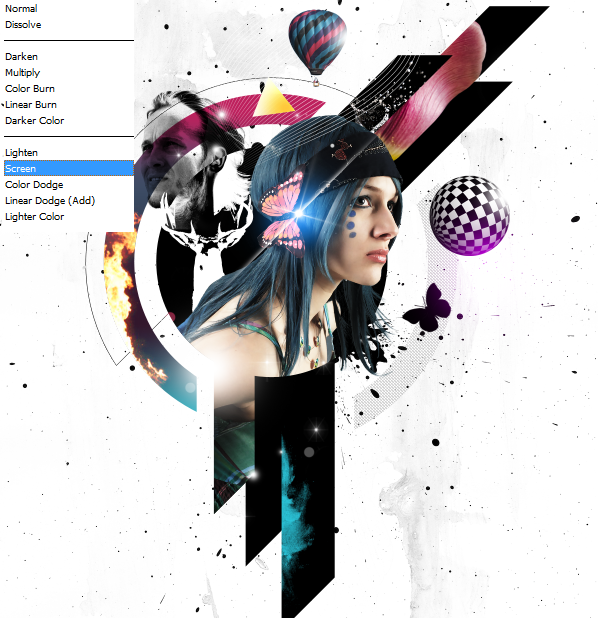
Place it behind the model. Change blend mode to Lighten.
Step 28
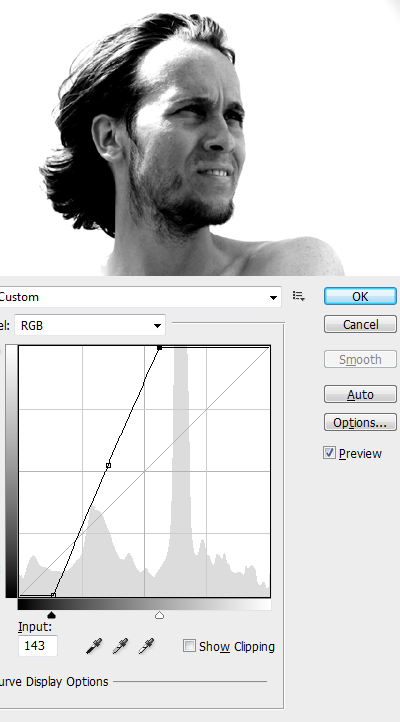
Open up the male head stock. Desaturate the image. Adjust brightness and contrast using the Curves command.
Step 29
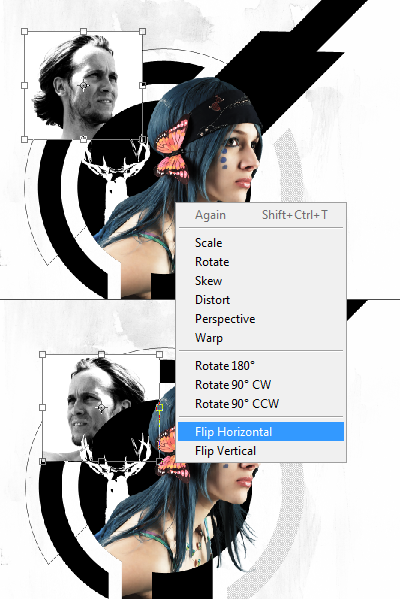
Drop the image into composition. Resize and flip horizontally.
Step 30
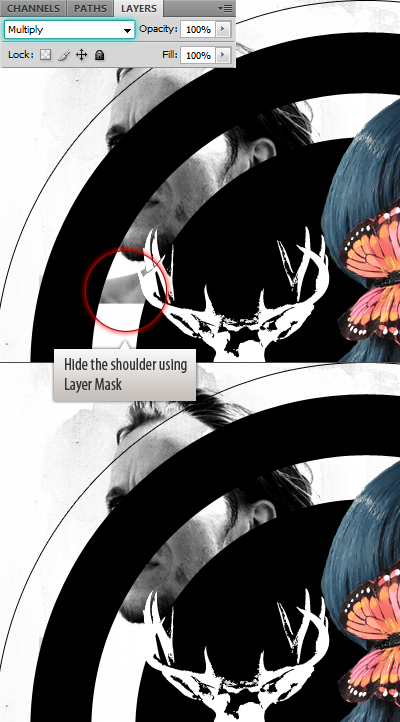
Change the blend mode to Multiply.
Step 31
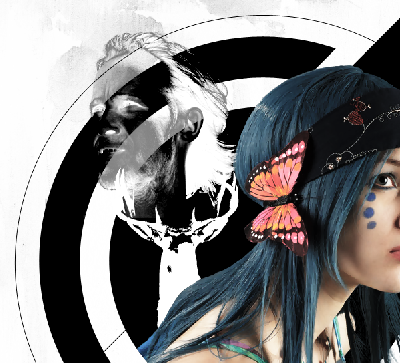
Duplicate the head layer and invert it.
Step 32
Load selection from the circle in the middle and use it to mask out the head negative thus showing the portion inside the circle.
Step 33
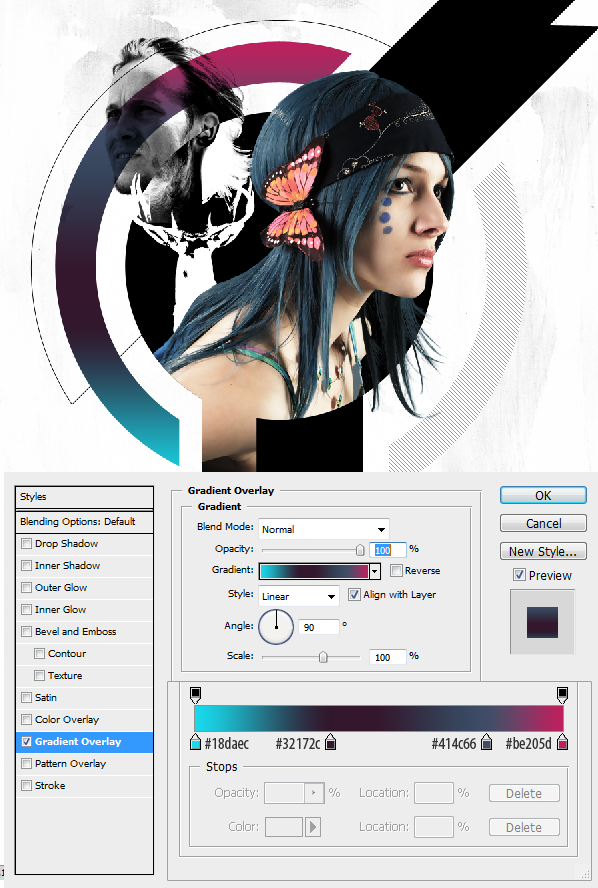
Apply gradient to the outer circle.
Step 34
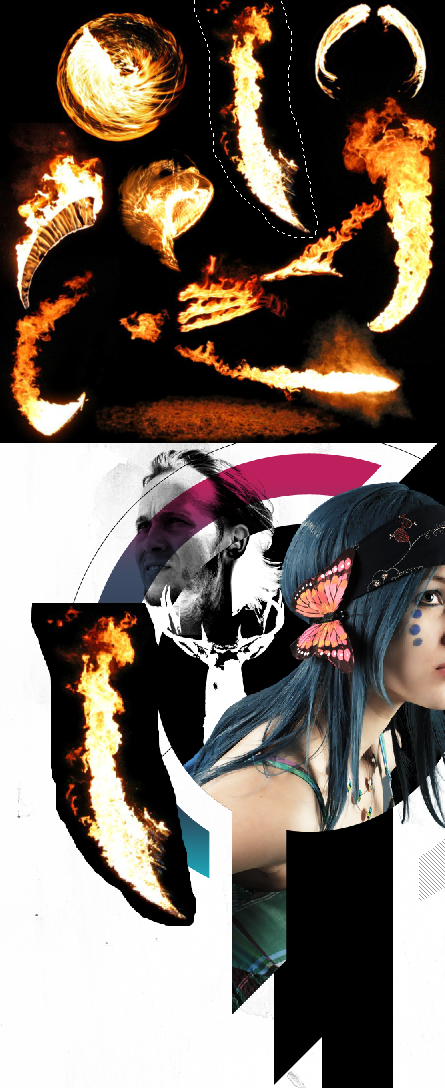
Load the flames stock image. Copy the below one and paste above the outer circle.
Step 35
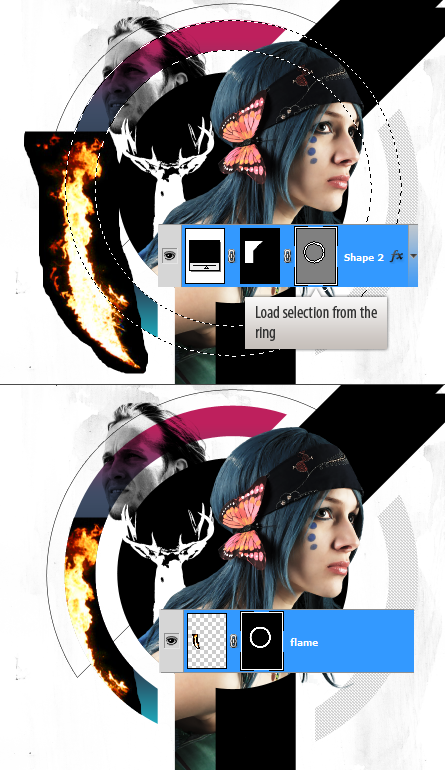
Incorporate the flames into the ring. Mask out the flames using the selection from the ring.
Step 36
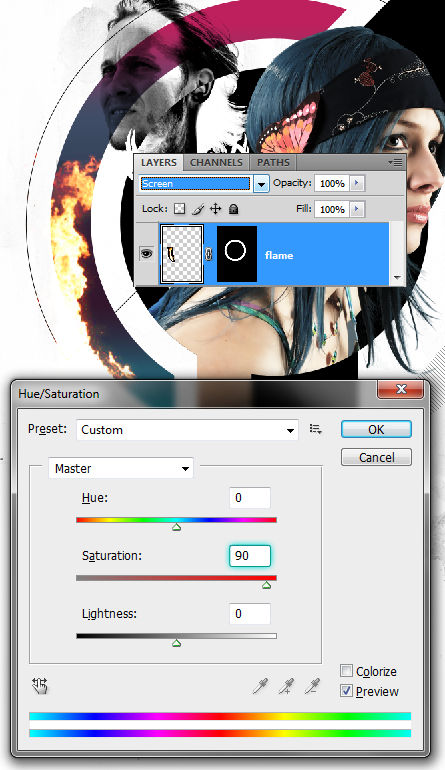
Change blend mode to Screen. Increase flames saturation using Hue/Saturation dialog box ( Ctrl+U ).
Step 37
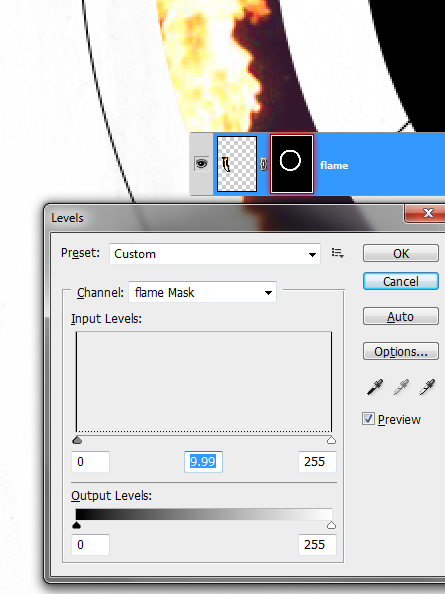
Shrink down the flames mask to get rid of any edge artifacts caused by semi transparent pixels. Click on the flames layer mask and load Levels dialog box (Ctrl+L). Enter highest value in the mid tones field.
Step 38
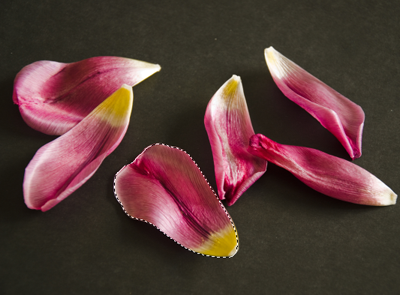
We now going to clip different graphic elements to the shape layers. First Load the petals stock into Photoshop. Select a petal using any selection tool. Copy and paste into main document.
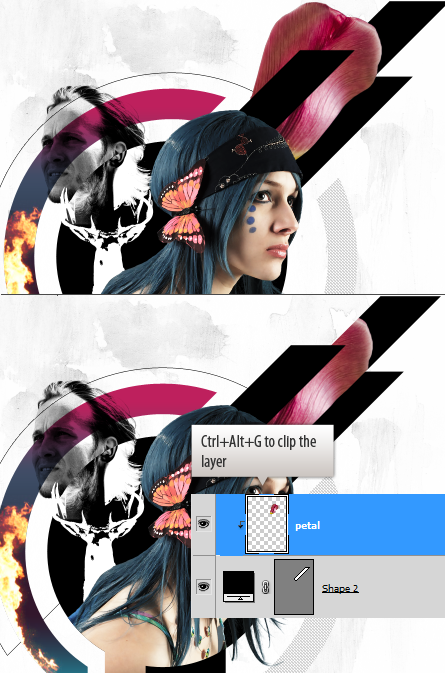
Step 39
Place the petal above the shape layer that we want to clip to.
Step 40
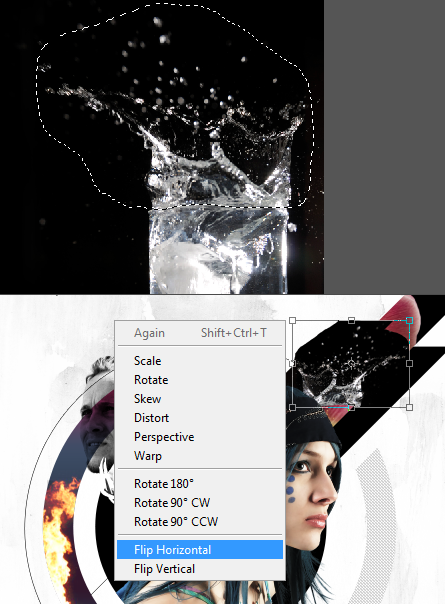
Copy the splash using Lasso Tool. Paste it above another shape. Scale it down and flip horizontally.
Step 41
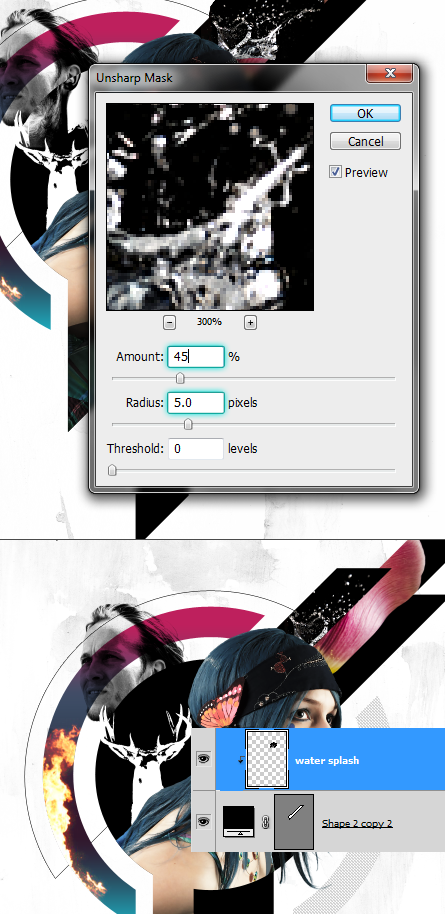
Apply Unsharp Mask to sharpen the detail. Then clip it to the layer below.
Step 42
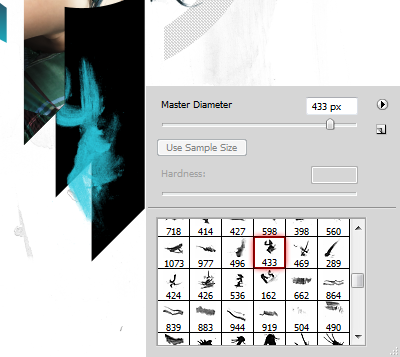
Load the grunge brushes into the brushes palette. Pick a grunge brush and apply a stroke.
Step 43
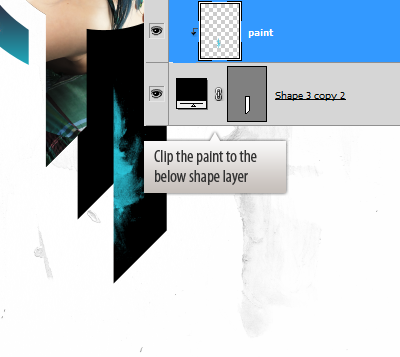
Clip the paint stroke to the shape layer.
Step 44
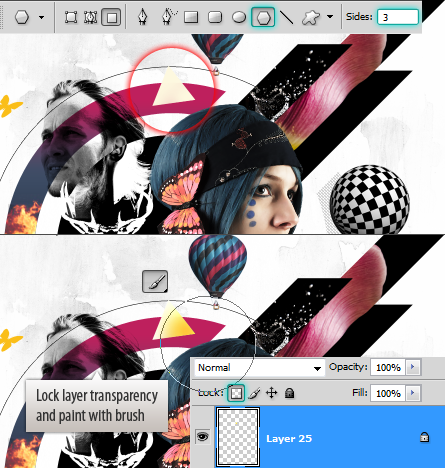
Add more elements. Add a sphere from the pack.
Pick a balloon from the balloon pack.
Step 45
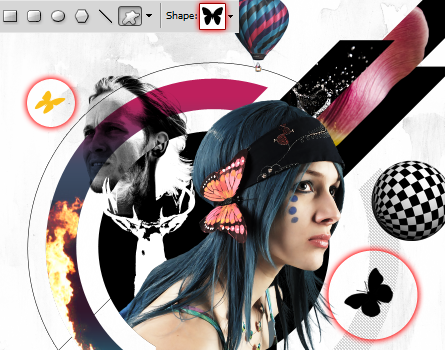
Add butterflies from auto shapes. Or you can create your own butterfly from stock image.
Step 46
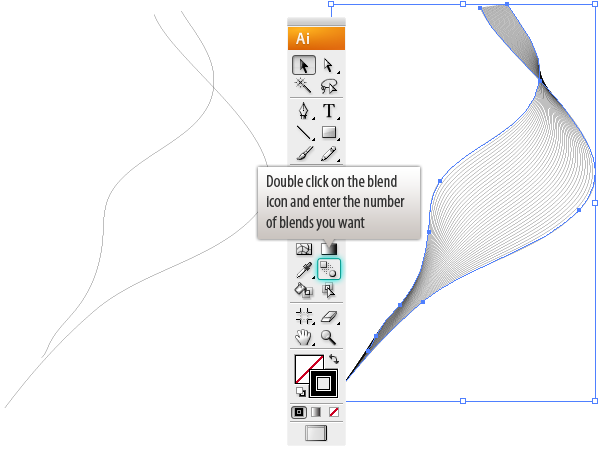
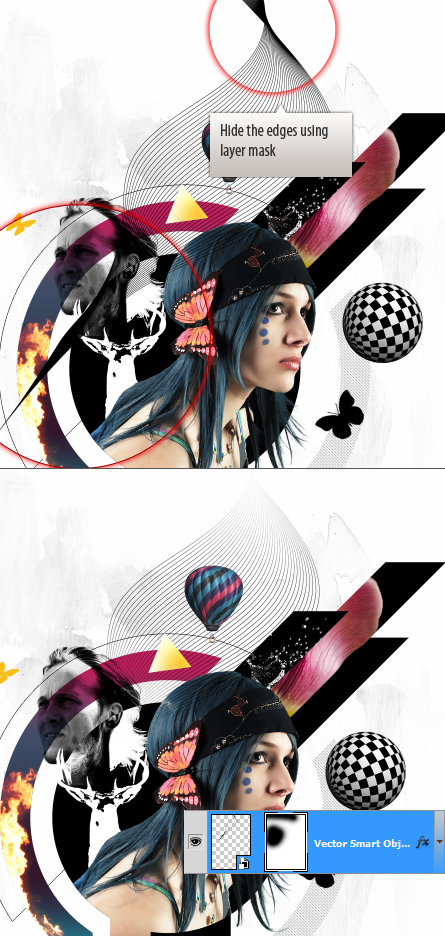
Create a nice blend in Illustrator. Select the lines and press Ctrl+Alt+B.
Step 47
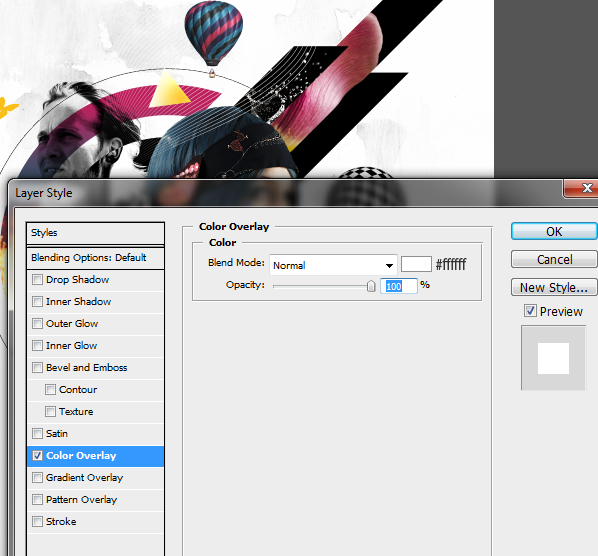
Apply color overlay
Step 48
Drop in the splatter stock image into the composition to give organic feel. Place it below the shape layers. Size down the splatter to fit the document.
Step 49
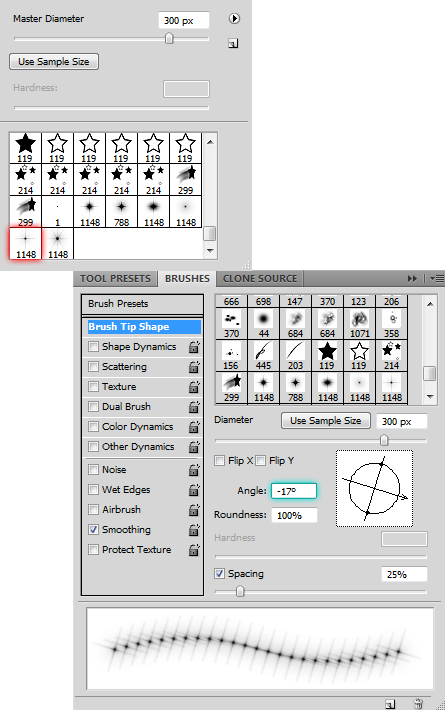
Add some more enhancements. Load the star brushes into the brushes palette. Pick a brush and adjust the parameters.
Apply the brush.
Step 50
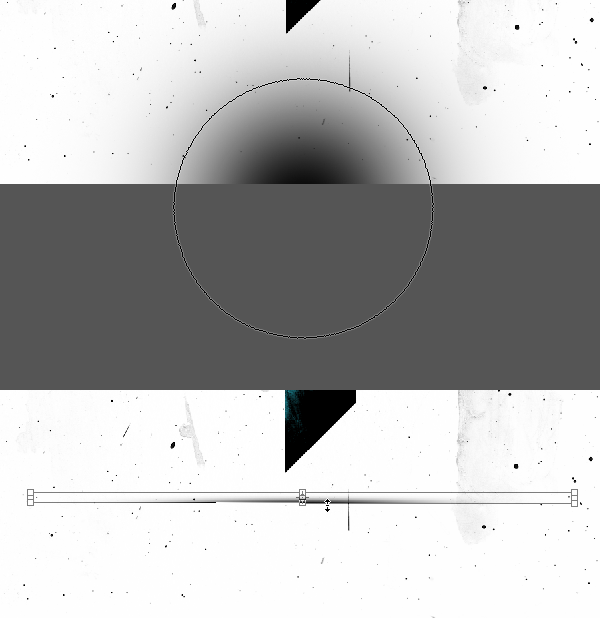
Now create light streak. Make a new layer. Select a round soft brush. Set the brush size to 500px. Apply the stroke on the bottom edge of the canvas and stretch it vertically.
Step 51
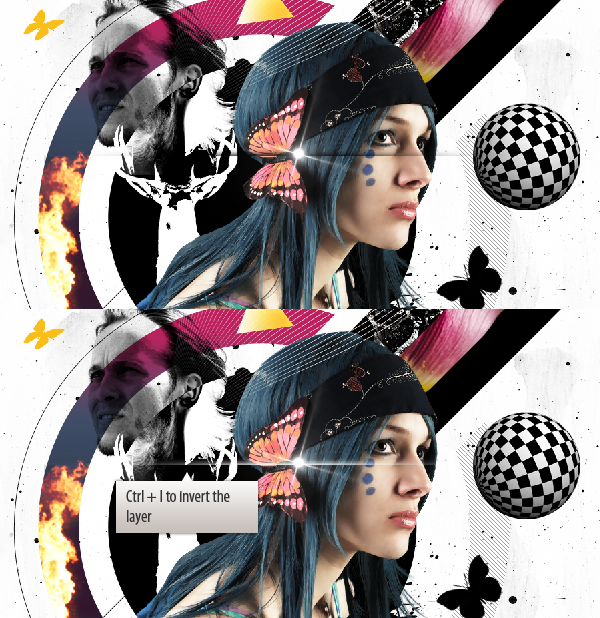
Place it above the star and invert it.
Step 52
Rotate the streak by -45 degrees.
Step 53
Add tiny highlights with the star brushes and a soft brush. Choose white as brush color.
Step 54
Add some more highlights varying in size using soft brush.
Step 55
Add some color.
Step 56
Change the layer blend mode to Screen.
Step 57
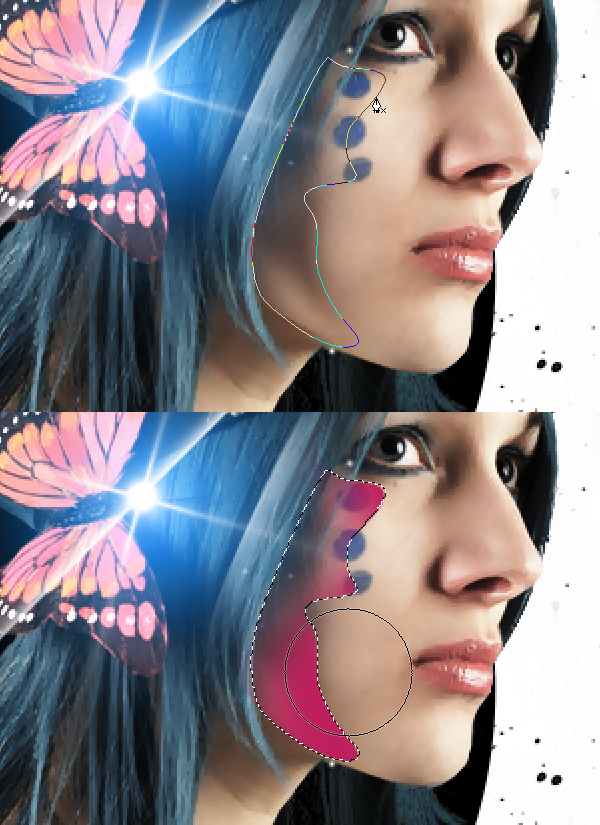
Give the model some additional treatment.
Step 58
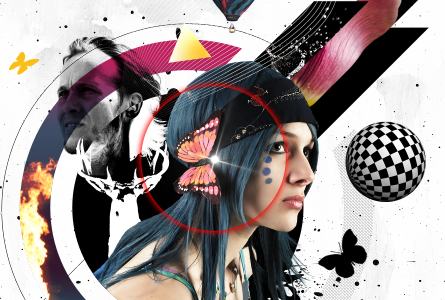
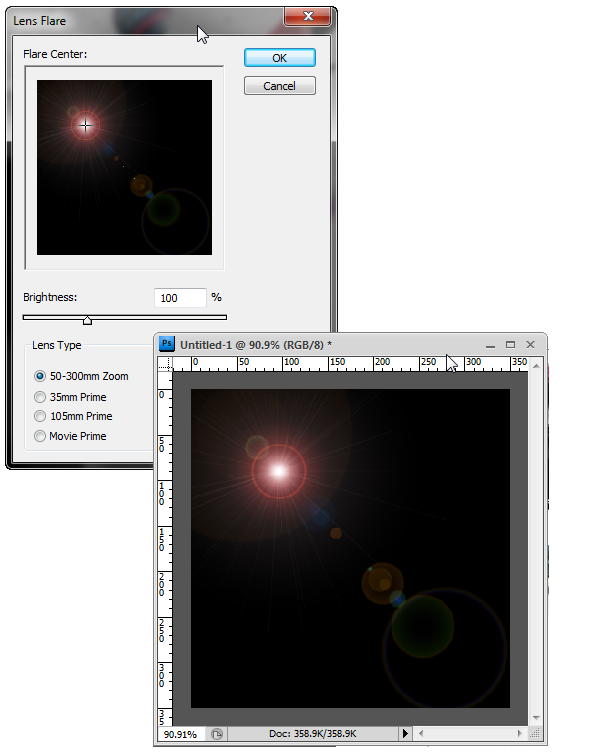
Create a new document 350 X 350 pixels. Fill the background with black. Apply Lens Flare effect (Filter > Render > Lens Flare.)
Step 59
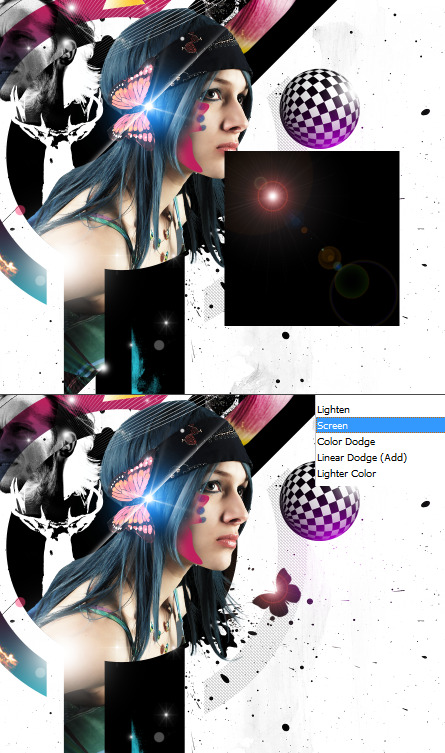
Drag and drop the lens flare into the design. Place it above the butterfly, change the blend mode to Screen.
Step 60
I added a couple of color spots with the brush tool.
Step 61
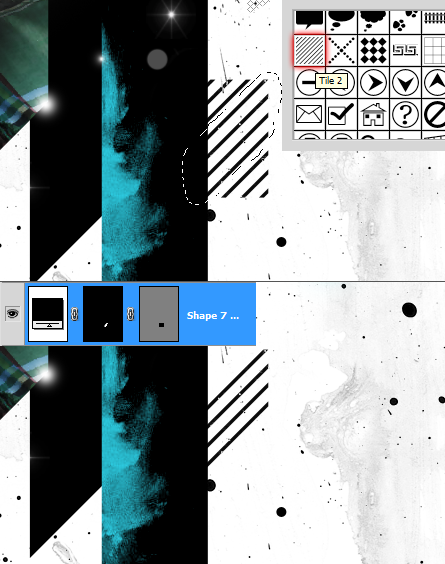
Add the below pattern from auto shapes palette. Modify it.
Step 62
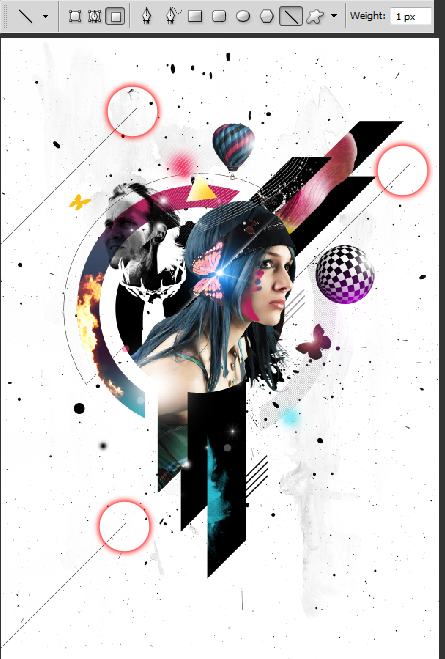
Add some lines using the Line Tool. Maintain the 45 degree angle.
Step 63
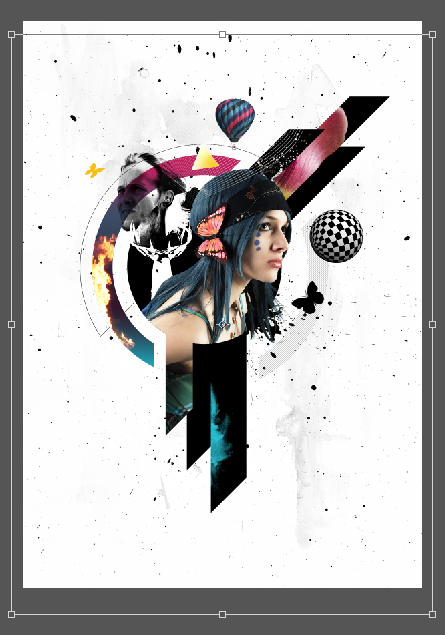
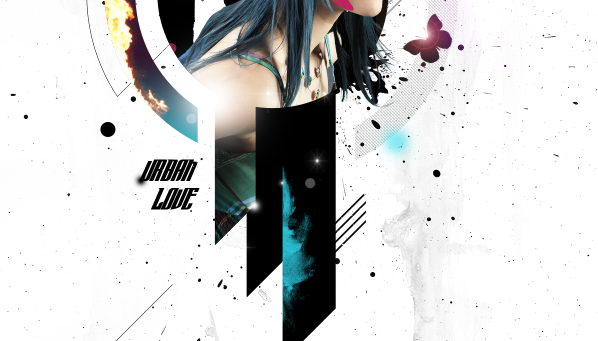
Finally add Title. That’s pretty much it. Press Ctrl+0 and take a sight at the design. Should you feel anything needs a change or to be added feel free to do it, and try to be creative.


 2:25 AM
 Unknown
![final-results[1] final-results[1]](http://photoshoptutorials.ws/images/stories/450c6032b4a0_12081/final-results1.png)
0 nhận xét:
Post a Comment