

 5:04 PM
 Unknown

Give your photos a unique look with this retro effect that's super easy and fun. You will learn how to create this effect with just one layer and three colors.
Preview of Final Results
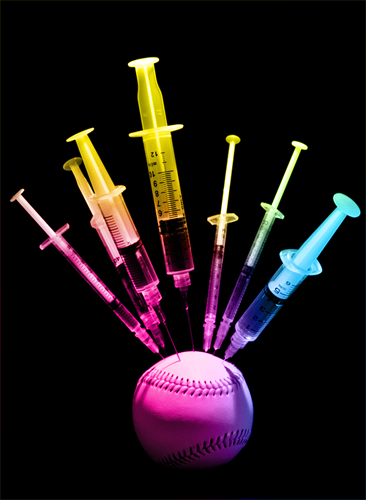
Rainbow Light Painting Photoshop Tutorial
Step 1
Start off by opening any photo into Photoshop. This effect works best with isolated objects on black backgrounds such as the image below.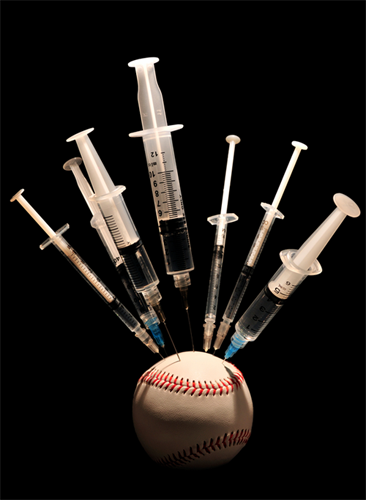
Step 2
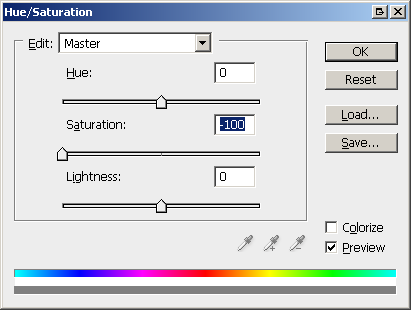
To begin, we’ll desaturate the image. This step isn’t necessary to get the effect, but it will be helpful when we’re painting. In the Layers palette, click on the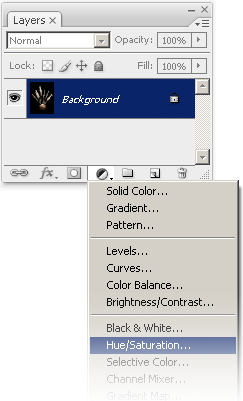
Step 3
Now we’ll create a new layer. This is the layer where we will be painting the colors on. Click on the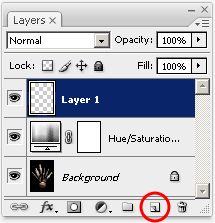
Step 4
The primary colors that we’ll be using are yellow, magenta, and cyan. Before we start painting, we’ll use the Swatches palette so that we can quickly select those three colors. In the Swatches palette (Window > Swatches), click on the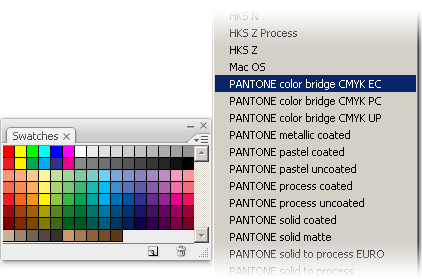
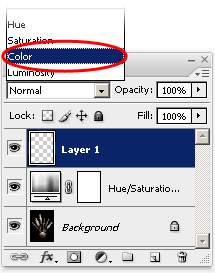
Step 5
Select the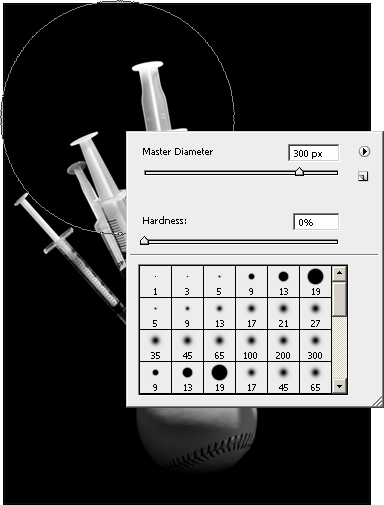
Step 6
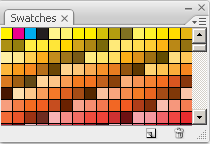
Begin by selecting either yellow, magenta, or cyan from the Swatches palette and painting anywhere in the image with a large brush size. You can adjust the brush size by pressing the [ or ] key on your keyboard.
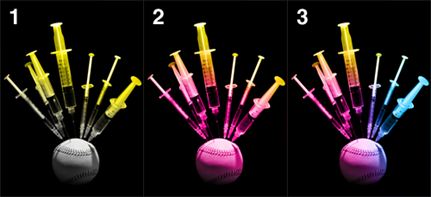
Final Results
Now that you’re done, you can delete the Hue/Saturation adjustment layer.
0 nhận xét:
Post a Comment