

 5:19 PM
 Unknown

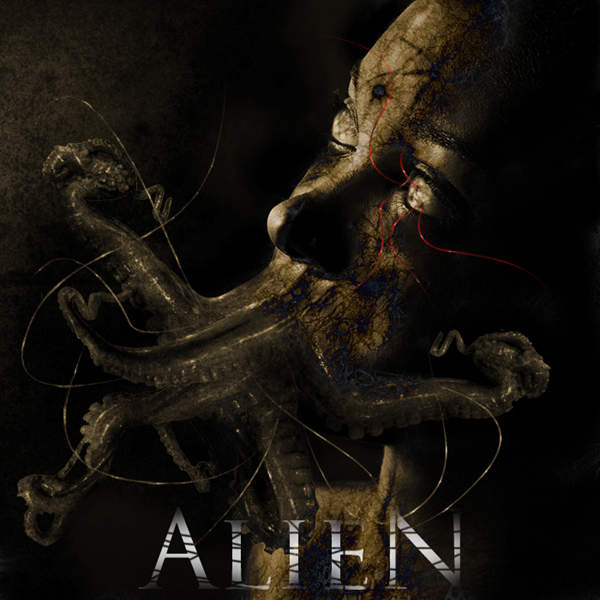
Turn a woman into an alien by combining two photos. This tutorial will teach you several photo manipulation techniques for creating scary photo manipulations.
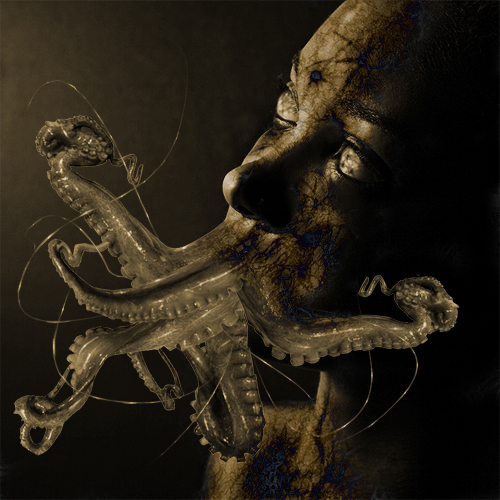
Alien Photo Manipulation Photoshop Tutorial
Preview of final results
Stock Photos
For this tutorial, you’ll need a photo of a persons head, octopus, and any grunge texture. If you like to use the same portrait of the face used in this tutorial, you may click on the image below to purchase it. Note that we only have the download link for the image of the woman.
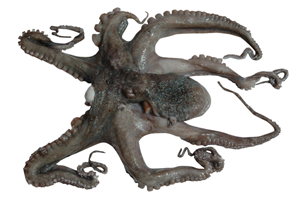
Step 1 – Open the octopus photo
Begin by loading the image of the octopus.
Step 2 – Detach an arm from the octopus
First, delete the white background. To do this, use the magic wand tool to create a selection of the white background then press delete on your keyboard to remove the background. Select the lasso tool and create a selection of one of the arm. Then, press Ctrl+J to create a new layer with the selected areas as its content.
Step 3 – Combine several arms together
Repeat the previous step several times until you get about five arms. They should each be on their own layers. Start by using the transform tool (Edit > Free Transform) to rotate, resize, and position them together like the image below. Add a layer mask to each of the layers then, with a soft brush, erase in the layer mask to blend the arms together.
Step 4 – Combine the octopus arms with the portrait photo
On the document with the octopus arm, copy the entire image into the clipboard. To do this, press Ctrl+A to select all then press Shift+Ctrl+C to copy merged. Open the portrait photo then press Ctrl+V to paste the octopus arms. Position it on the mouth. Add a layer mask to the layer with the octopus arms then, using a brush with a hardness setting of 0%, erase the edge slightly to blend it with the face.
Step 5 – Manipulate the eyes
Now let’s work on the eyes. Start by using the clone stamp tool to distort the eye. Hold the Alt key and click on a white area then click in the colored area.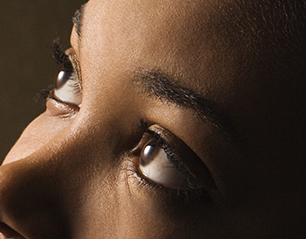

Step 6 – Apply a color effect with adjustment layers
Choose Layer > New Adjustment Layer > Curves to add a new curves adjustment layer. Use the curves adjustment layer to make the image a little darker.


Step 7 – Use the burn tool on the face
Use the burn tool to darken some areas using a large brush with a soft edge. This will modify the look of the bone structure. Also spend some time to burn certain areas in the octopus arms to make the jaw look wider. You can make him look like Davy Jones in ‘Pirates of the Caribbean: At World’s End.

Step 8 – Add an alien skin texture
Start by opening the photo of a marble texture in Photoshop.
Use the eraser tool with a soft edge to erase the marble texture so that it only covers the fast. Change the blending mode to difference.
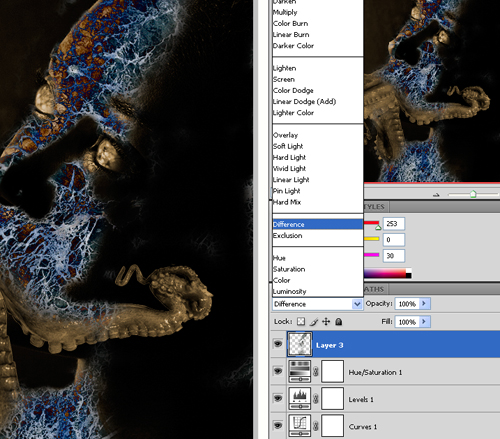
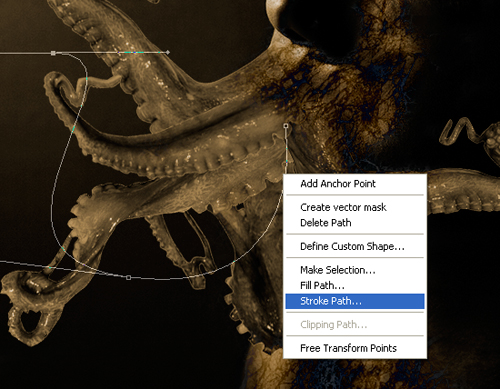
Step 9 – Add some abstract lines
Select the brush tool with a 3 pixel brush and 100% hardness. In the brushes palette (Window > Brushes), apply the settings shown in the image below: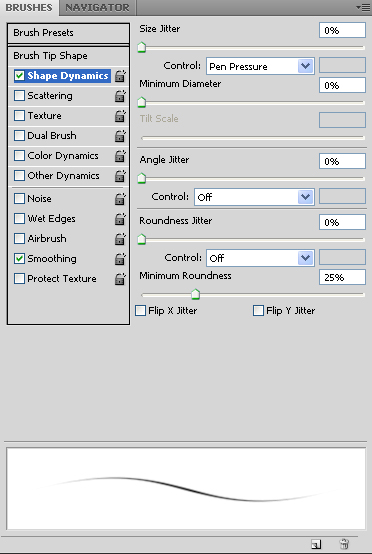
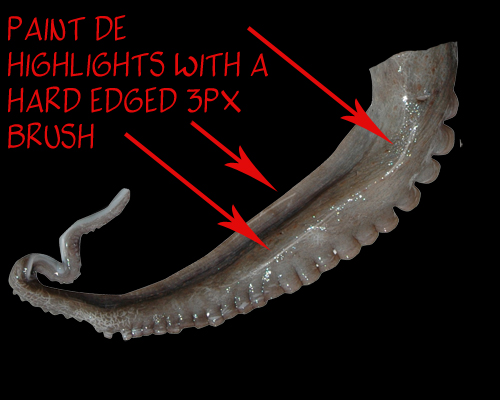
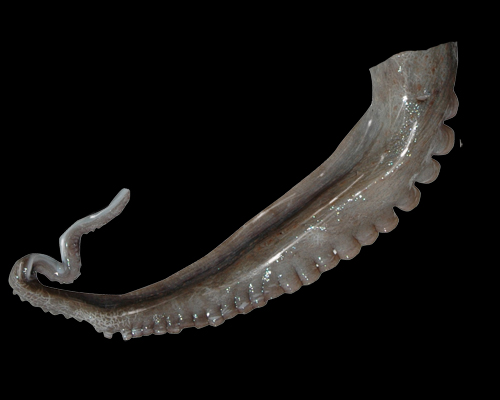
Step 10 – Add highlights to the arms
It is helpful to have a pen tablet for adding highlights but this will work with a regular mouse too. We’ll create highlights by painting a thin white line.
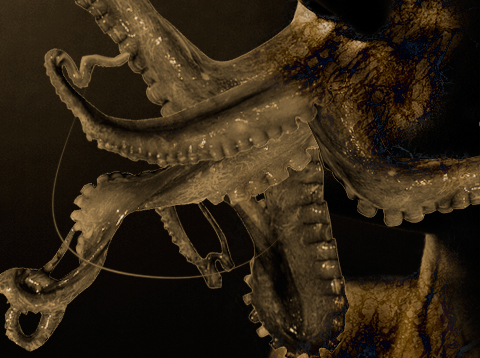
Step 11 – Enhance the arms
Select the burn tool and set the brush to a big and soft edged brush. Change the range in the option bar to highlights then paint the edges of the arms to make it darker.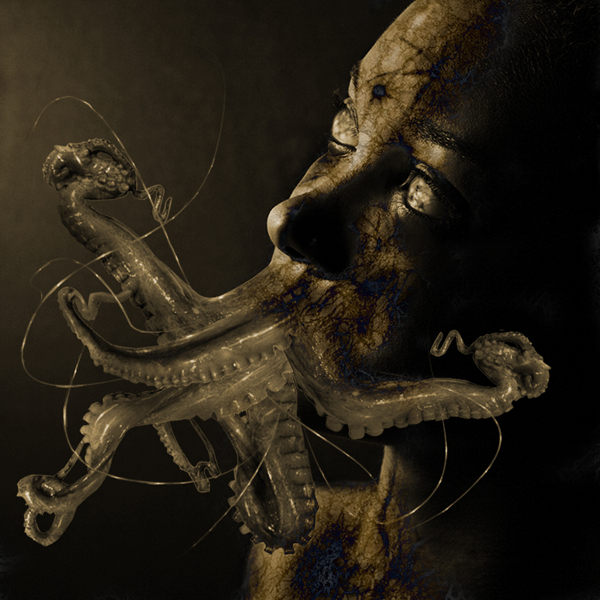
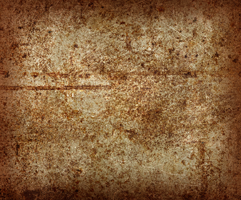
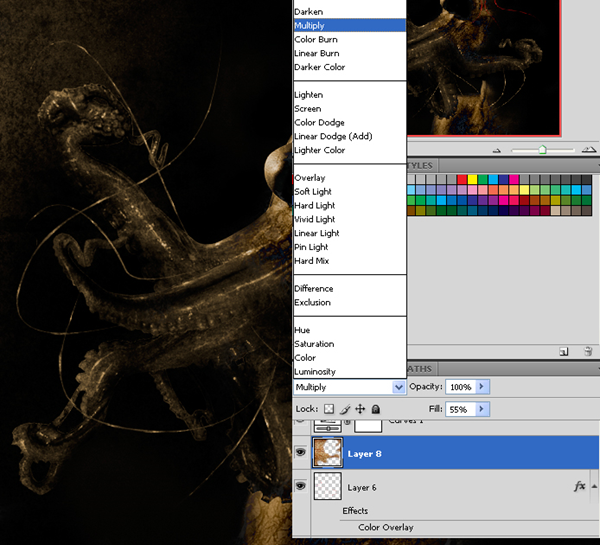
Step 12 – Add a rusty grunge texture
Open the image of the rusty texture and place it into the image of the alien. To do this, choose Select > All then Edit > Copy. Close the image of the texture to go back to the alien image. Choose Edit > Paste to paste the texture as a new layer.
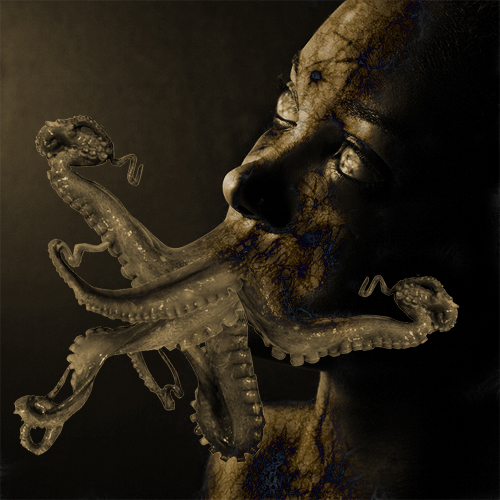
Final Results
Here is our completed image. We added more red abstract lines on the eyes using the same technique in step 9.
0 nhận xét:
Post a Comment